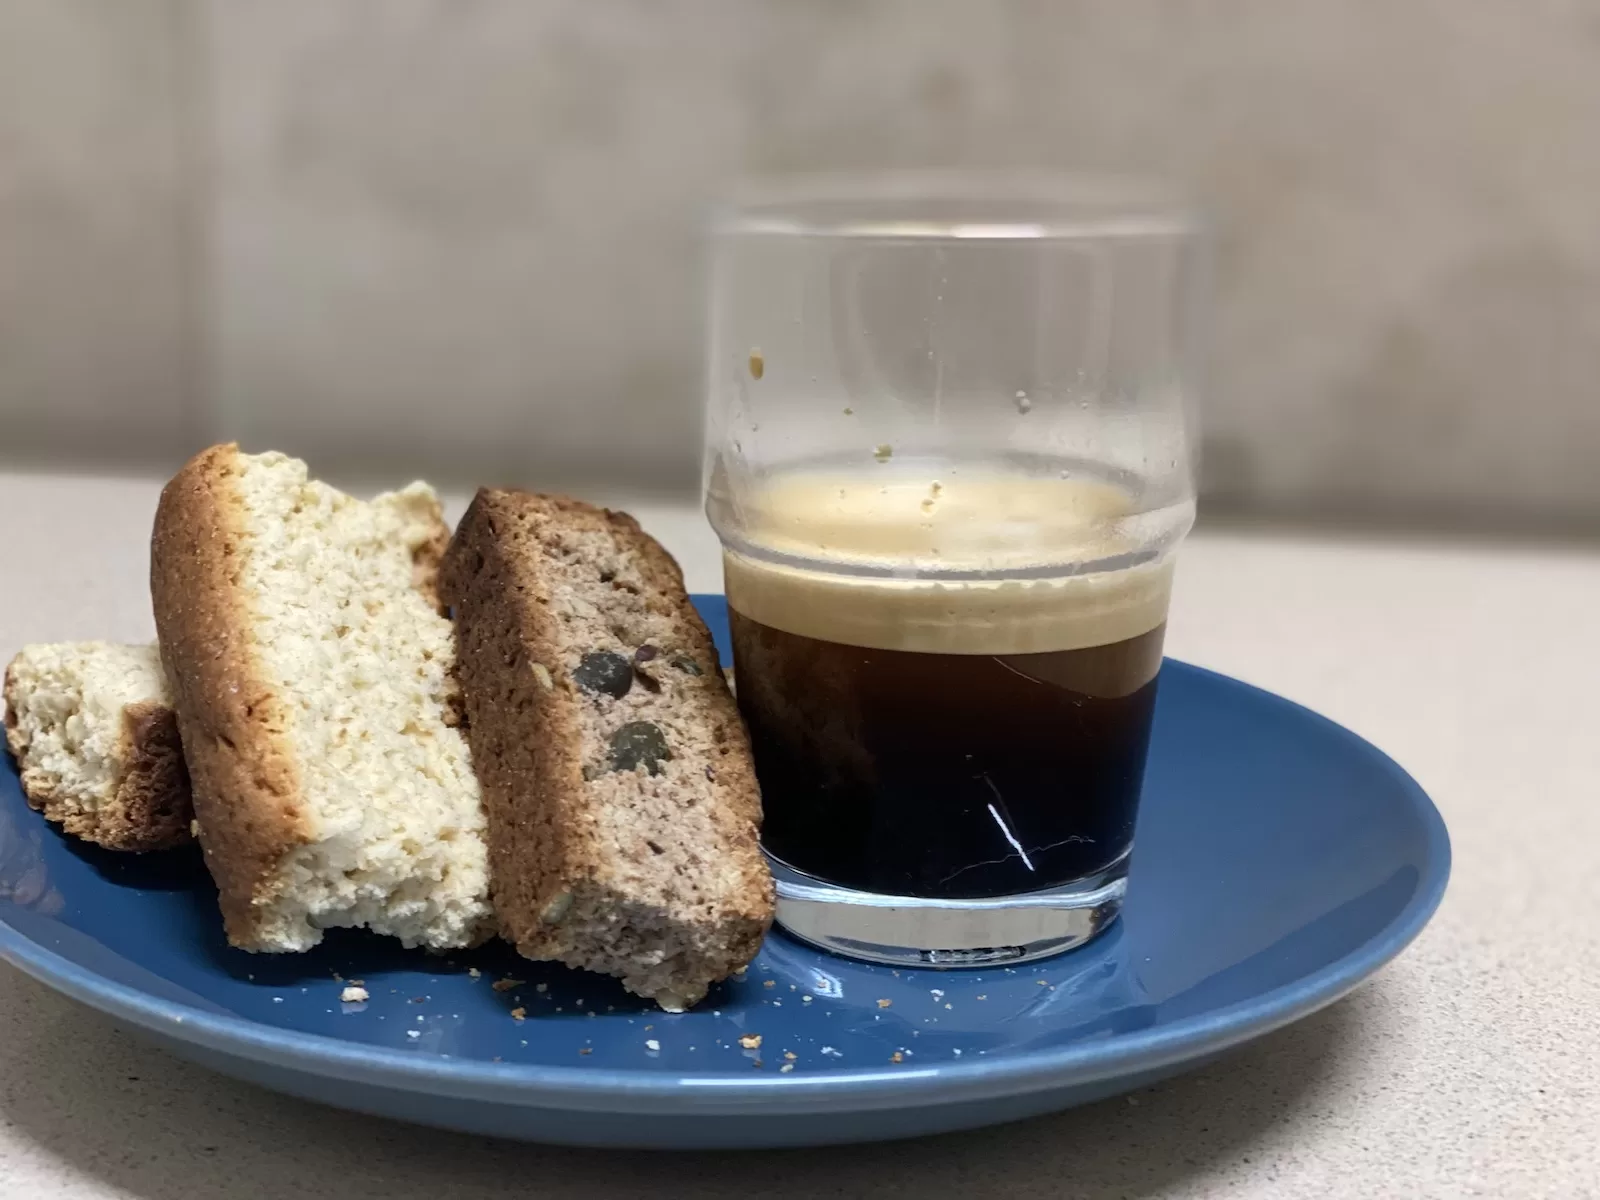
One of the most popular treats for our guests is the South African rusks or Beskuit. It doesn’t matter from which country they are everyone enjoys it. As a child I can remember seeing my mom knead the rusk dough by hand and rolling it into balls and it always looked like a lot of hard work. So it took me a while to be willing to try it here in Israel. Once I mastered up the courage it was a matter of finding the right recipe.
We found a recipe online that looked promising but when we started making it we realised that the buttermilk in Israel is very different to the buttermilk that you can find in South Africa. So since starting to make the rusks we have had to make many adjustments to ensure that our dough is the right consistency. Since then we have also started adding nuts and coconut to our recipe and replacing the white flour with brown flour in order to make a healthier version of the rusk – well I am not so sure as to how healthy it could be because we still add a lot of sugar.
Of course first put on your oven to 180 degrees Celsius.
Place your flour (and nut and seed mix if you are making the brown rusk version) into the mixing bowl
Add the sugar and baking powder and salt. Just to make sure that all the dry ingredients are combined. We use a mixer with a dough hook attached and we switch the mixer on for a second or two. You can do this by hand as well.
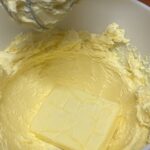
Add the soft butter to the dry ingredients and start the mixer so that it incorporates the butter with the dry ingredients. If you are mixing and kneading by hand, it’s a good idea to rub the butter and flour together with your fingertips.
Add the eggs and start the mixer again. Once the eggs are mixed in we reduce the speed to 1 and slowly add the buttermilk until the dough is wet and starts to pull together. I do not like a very wet dough because it is difficult to work with and sticks to everything so I pour my buttermilk in bit by bit to avoid adding too much.
Once everything is in and you can see that the dough is being kneaded by the mixer you can put it back on to a higher speed to knead for about 5 to 7 minutes.
Once it is done I give the dough to Jacques who has already greased the rusk pans that we use. We have special rusk pans that has its own cutter.
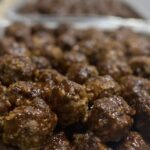
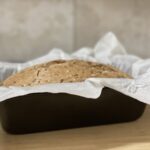
He then flattens it out and uses a wine bottle (our rolling pin) to smooth out the dough into an even height throughout the pans. The last thing then is to cut the raw dough with the special blade and then into the oven they go for about 1 hour. We rotate our pans every 15-20 minutes to avoid dark spots. If you don’t have this kind of rust pans you can shape the dough into little balls a bit smaller than a golfball and place them in neat straight rows tightly together in a loaf tin. Each ball will end up being one rusk.
When they are finished baking we remove the pans from the oven and let it cool down. Once it has cooled we flip the pans over to allow the “fresh rusts” to drop out of the pan. I keep my hand on the top to prevent it from falling out too fast and breaking. Normally the fresh rusts should release easily. Then we break the rusks into smaller pieces by following the cut lines that we made with the blade. If you made little balls, you can break it on the seams. This is also a great time to enjoy a piece of freshly baked rusks before drying them out. We normally call the kids to come grab a few. Jacques likes to spread a nice thick layer of butter on it. In my family I have to work very fast with this process otherwise my kids and Jacques will finish everything even before the drying out process.
If you didn’t devour all the pieces, you can pack it onto an oven grid and then place it back into the oven on a very low temperature about 80-100 degrees Celsius. As tradition goes you put a wooden spoon into the door of the oven so that it is slightly ajar. To allow it to completely dry out, the drying out process can take 3-6 hours. Be careful that your oven is not too high so that the rusks will not burn.
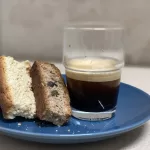
Once they are completely dry and hard allow it to cool and place in a air tight container for all to enjoy with a cup of coffee or tea.

