Bread

Our Challah Recipe

01Jan

So this is one of the few recipes that we do follow exact directions

The reason is because we started with a totally different recipe and adjusted it about a million times and also gave up a few times before eventually getting the exact texture and taste that worked for us. 

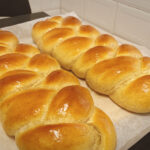
This being said sometimes my hand does slip a bit and more flour or oil makes its way into the mixer but thankfully the Challah is very forgiving and ends up being a beautiful creation that leaves our guests satisfied. 

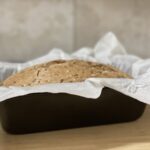
Of course the best way to serve this Challah is nice and hot from the oven. 

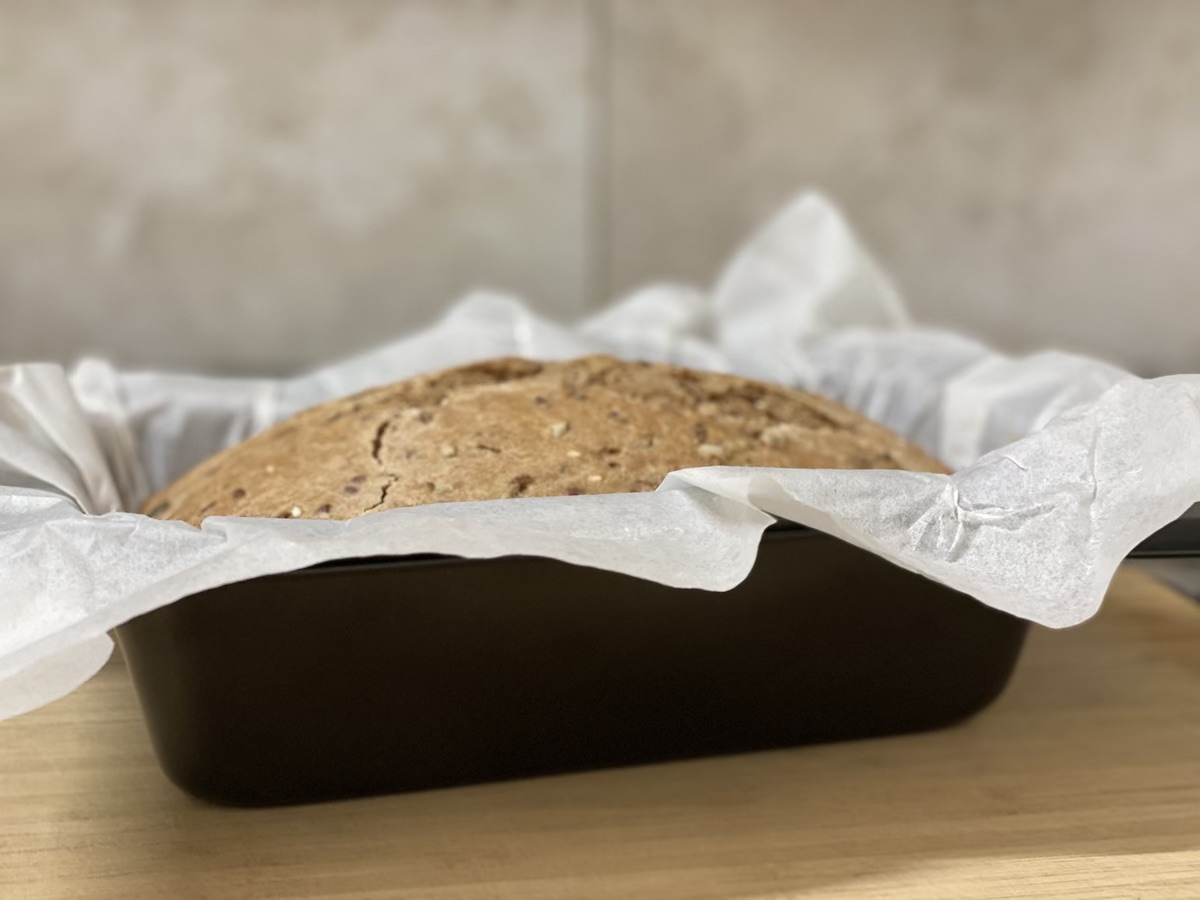
Sometimes we decide to make an extra few batches of dough while the machine is already ‘in use’. We let it rise as normal but once we have braided the Challah we pop it into the freezer before the second rise. Fast forward to next week or the week after and we want a lazy meal for Shabbat, we take the frozen dough out of the  freezer 3 to 4 hours before we want to bake it.

What you need

10-13g yeast
1 Tbsp Sugar
A little bit of water
800g Flour
80g Sugar
60g Oil
1 Egg
300g Milk
1 Tsp Salt

Dissolve the yeast, 1 tablespoon of sugar and a little bit of water together into a measuring jug and let it stand for 5 minutes

While the yeast is activating measure out your flour, sugar and salt into your mixing bowl

Add your egg to the flour mixture

Measure the milk and oil into the yeast and mix it well

Pour the mixture into the mixing bowl with the flour and mix it all together.

We use an electronic mixer with a dough hook but you can also knead this by hand.

For a good dough consistency you need to knead the dough for about 10 minutes.

Put the dough into a lightly oiled bowl and cover with a towel or plastic bag.

Let it rise until doubled in size (usually about 2 hours)

Knead it down and braid

Let it rise again for one hour and bake at 180 degrees for about 20 to 25 minutes (if you have a meat thermometer poke the Challah – the inside temperature should be 90 degrees Celsius)

For braiding instructions you can watch Jacques in action by clicking on the video instructions button.

Brown Seed Bread

01Jan

The base recipe we also found on the internet many years ago.

We have had to change it a bit seeing as the buttermilk in Israel is a bit different so we always have to adjust the amount that we use otherwise the dough is way too wet. We also add seeds into the bread.

For this recipe I do not use a mixer, I mix it all together with a wooden spoon and once my arms get to tired then Jacques takes over.

What you need

  • 400g Brown flour
  • 75g White flour
  • 1 teaspoon of salt
  • 1 teaspoon of bicarbonate of soda
  • 1 egg
  • 1 tablespoon of oil – I never measure out my oil
  • 1 teaspoon of honey – I feel that this is too little so I also just guess the amount 
  • 350-430ml of buttermilk – again I do not measure this out.  I use as much as what I feel is necessary to get the dough to be the right consistency. 
  • A mixture of seeds – you can use whatever you wish.  We have combined sunflower seeds, pumpkin seeds and flax seeds.

Pre heat the oven to 180 degrees C

Mix all the dry ingredients together (including your seed mixture).

Mix the egg, honey and oil together and make sure it is combined well.

Mix the wet and dry ingredients together.

Once it is combined then slowly add the buttermilk to your mixture until the dough has a nice consistency.

The original recipe says that the dough is a wetter, sticky dough but I prefer my dough to not be so wet and sticky.  So really it is up to you and your own preference.

We use nonstick bread pans to bake our bread but instead of putting oil or spray and cook in the pan we put baking sheets.  We take the baking sheet and place it in one of the pans and then press another pan into the pan with the baking sheet.  This causes the baking sheet to take the form of the pan.

Then we place the dough into the baking sheet lined pan and smooth it out until it fills the entire baking pan. Add some more seeds on top.

Bake the bread in oven for about 45 min to 1 hour.

We normally test the temperature of the inside of our bread until it is about 90 degrees.

Remove the bread from the pan by lifting it out with the baking sheet.

Allow it cool down a little bit before cutting the bread.