Chocolate

Oreo Cheesecake

01Jan

This recipe we also found on the internet and modified it to our personal taste, again I apologise that I am not able to give you exact measurements as I always kind of guess the amounts of the ingredients that I need but I will try my best to explain it so that you can also enjoy this at your home.

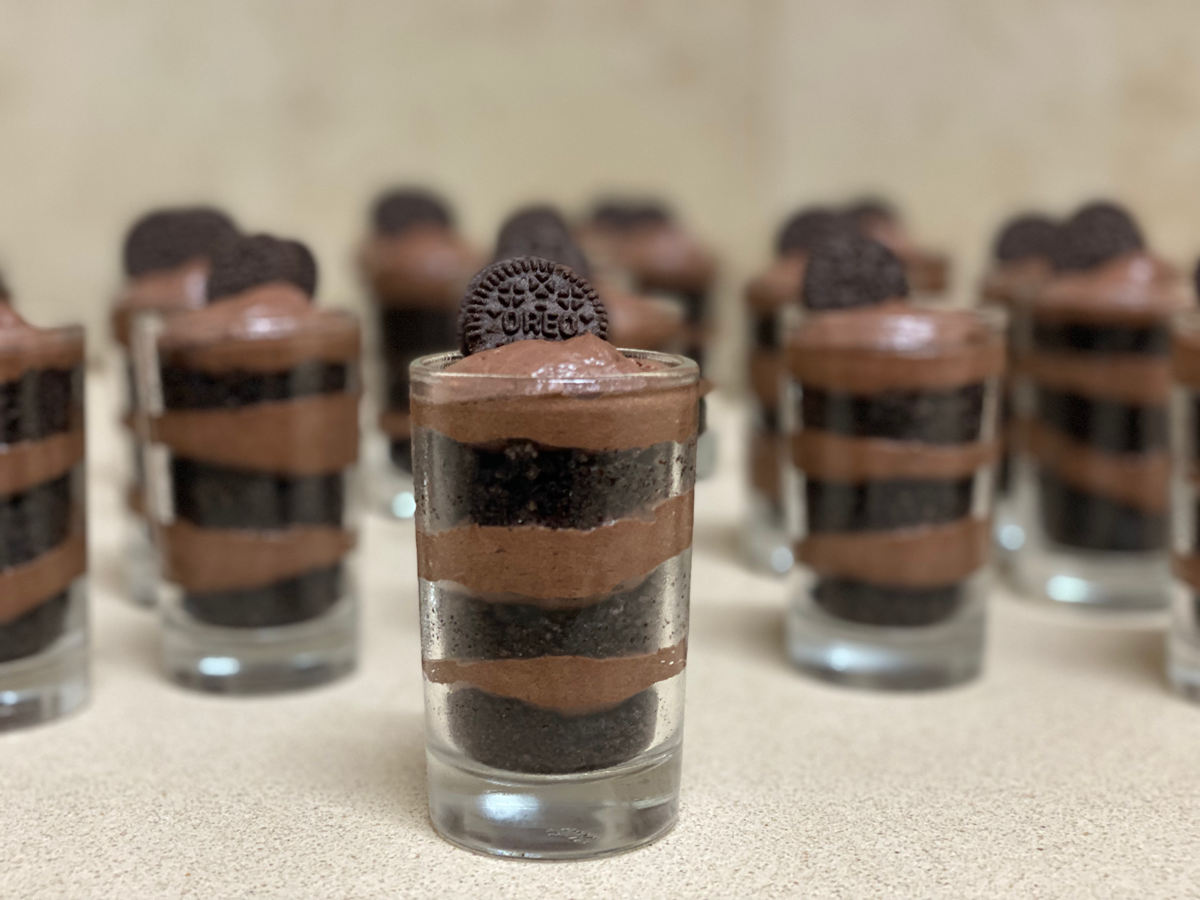
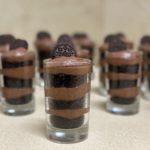
This desert is so easy to make and it is very tasty. It also presents itself very beautifully in a glass as an individual serving so that the guests can see the different layers.

What you need

  • Oreo biscuits
  • 1 container of cream cheese
  • Cocoa powder – sifted
  • Icing Suger (Powder sugar) – sifted
  • Cream – whipped until it has formed very stiff peaks 

We adjust our amounts according to the amount that we need to make.

First we crush the Oreo biscuits until nice and fine, or rather Jacques crushes the biscuits.  This is a job that I really do not enjoy doing so he is the boss of the biscuits.  After the biscuits are crushed he puts a thin layer into our serving glasses. We have nice small dessert size glasses but a wine glass also works great.

In Israel cream cheese like Philadelphia is very expensive so we rather purchase a large container of Gvina levana, a soft white creamy cheese yet much lower fat content and let it drain through a cheese cloth for a few hours until it is the consistency that we need.  This of course is Jacques’ job as I refuse to touch the white cheese. It is completely gross. 

(Sorry I should probably not say this on a recipe)

Once the cheese is the right consistency we put it into the mixer and whip it so that it becomes nice and fluffy.  Then we add the icing sugar and cocoa powder to the cream cheese.  The best advice that I can give regarding amounts is that you taste while you add your ingredients until it is as sweet and chocolaty as you prefer.

Once the icing sugar and cocoa are well mixed with the cream cheese we add the whipped cream and mix it all together.

Place the mixture into a piping bag and then fill the glass container until about half.  Then we add another layer of Oreo biscuits and then again another layer of the cream mixture.

How many layers you do is entirely up to you and also the size of your serving glass.

Other creative ideas for serving suggestions that we have done in the past is the following:

Placing a small amount of plain whipped cream at the top of the final layer.

Placing a small Oreo cookie at the top.

Placing a small mint leaf on top.

Chocolate Cake

01Jan

If you are very bad at baking and often have failed attempts when making a cake then this is the perfect recipe for you. 

We have made it so many times and it has never failed. Even in a different kitchens in different countries. 

It is our secret weapon miracle cake. 

The beauty of this cake is also that the longer it sits in the fridge the more moist it becomes. 

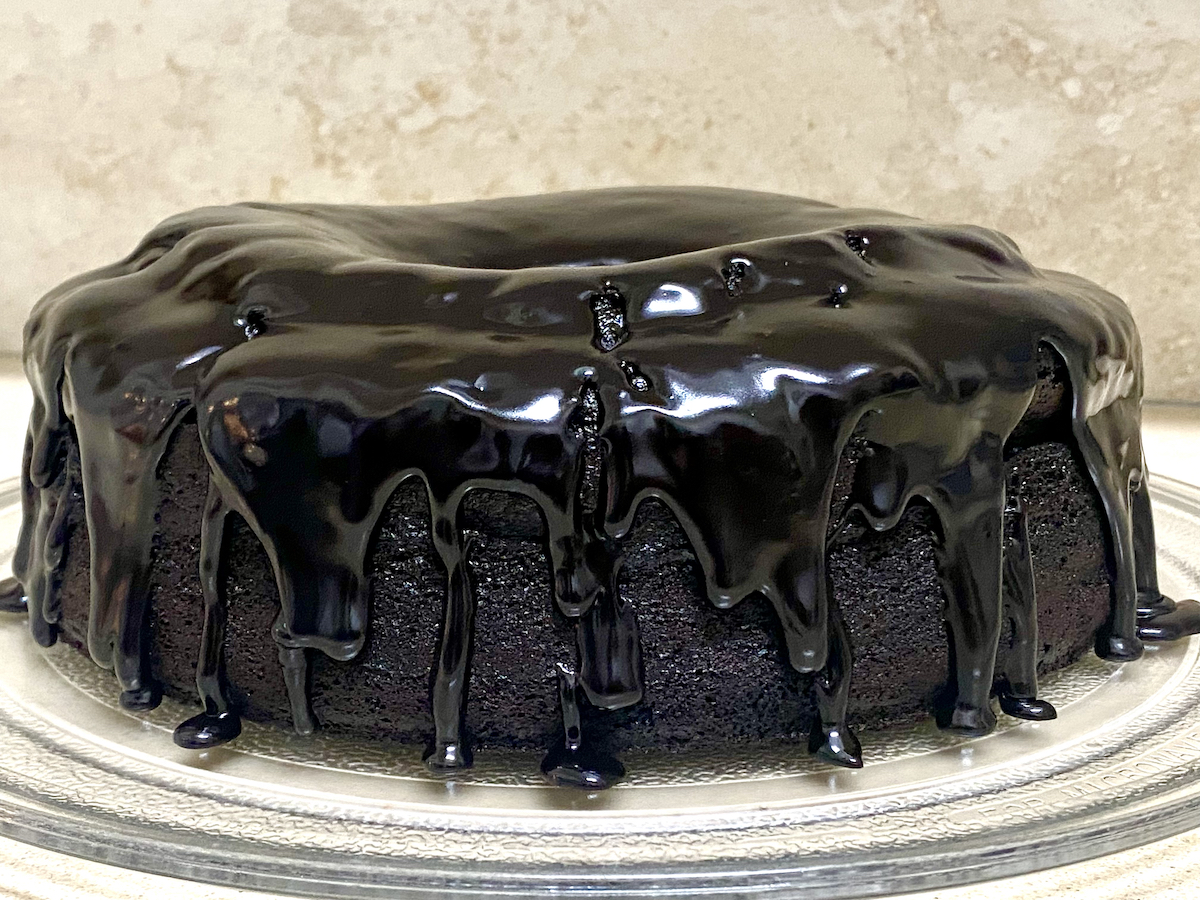
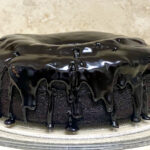
You might have noticed from the photo we have a beautiful glass serving plate. It’s not our best one, it’s our only one. You might have the same one and not even know it. Many years ago our microwave oven broke and we decided to keep the glass plate as a serving plate for cake. If you don’t have a serving plate you can use your microwave oven’s plate. Just don’t break it.

What you need for the cake

  • 3 large eggs
  • 240g Self raising flour
  • 75g Cocoa
  • 10ml Baking powder
  • 15ml Bicarbonate of soda
  • 320g sugar
  • 5ml vanilla essence
  • 250ml Mayonnaise
  • 330ml Water

What you need for the sauce

  • 1 cup of water or espresso coffee
  • 1 1/2 cups of brown sugar
  • 1 1/2 cups of cocoa powder
  • 1/2 teaspoon of salt
  • 6 table spoons of butter cut into pieces
  • 1 1/2 teaspoons of vanilla essence

Pre heat your oven at 180 degrees Celsius.

Combine the sugar, vanilla essence and eggs into the mixing bowl. Beat at a high speed until nice and creamy.

Sift the flour, cocoa, baking powder, bicarbonate of soda together in a separate bowl. We have heard its best to sift dry ingredients together 3 times to make sure everything is well incorporated.

First add some (not all) of the dry mixture to the egg mixture and some (not all) of the water.

Mix it together. Repeat this 3 times until everything is added together.

Mix well and then pour into a greased cake pan.

We prefer to use a round cake pan with a hole in the middle. The main reason for this is that we can cut more pieces out of one cake without the middle crumbling apart. We have in the past cut 24 pieces out of one cake, with a scoop of ice cream this was still a good portion for our guests.

Bake for 30 to 35 min.

Preparing the sauce

In a saucepan heat the water/coffee with the brown sugar until the sugar is dissolved.

Add the sifted cocoa powder and salt until the mixture is smooth.

Add the butter and vanilla.

Whisk until the butter is melted.

We keep the chocolate sauce in the pan and reheat it just before serving. You can pour the chocolate sauce over the whole cake or cut it into servings and pour the chocolate sauce over each serving.  We have found that this is too much sauce for the cake, but if you do not use everything it is great to keep in the fridge to enjoy over some ice cream.

This is one suggestion for a topping. It is nice as you can serve it hot over the cake and with vanilla ice cream it gives a very nice hot / cold contrast.

We have however tried many other toppings which also worked well on the cake.

Here are some suggestions.

Whipped cream mixed with caramel. 

Whipped cream mixed with Berry Pie filling. 

Actually anything goes. Feel free to experiment. 

Because we find this cake to be so user friendly we have also added red food colouring to make a red velvet cake – although we do have a separate recipe for a genuine red velvet cake.